Showing posts with label products. Show all posts

Tuesday, November 18, 2014

I Loaf U


One of the things I crave the most is a sandwich.  You name it, and I want it.  Sometimes, it's even the ones that I've never liked before, but the fact that it's wedged between two slices of bread...winning.

Thank you, Pinterest

I've experimented with several of the box options but my favorite loaf has been Namaste Foods Perfect Flour Blend.  More importantly, it's also been my boyfriend's favorite loaf (who is not gluten frustrated).
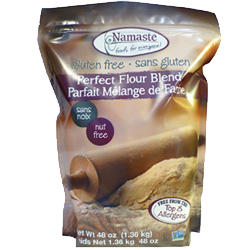
Namaste Foods Perfect Flour Blend has been great for cupcakes, breads, cakes, cobbler...I'm currently manipulating a gumbo recipe.


I really like this flour.  I know this because I've been using it since an old roomie mailed it to me as a gift she found at Home Goods, over a year ago.  Side note: she's one of my favorites.

Pros: It's on the cheaper end of the gluten-free flour pricing spectrum, which is always an added bonus.  Pricing is competitive amongst the internet, so no fears if you don't have a Home Goods around you! AND The diversity...I mean, don't those anniversary cupcakes just look delightfully normal?


They were better than normal, fyi. best. cupcakes. ever. (the heath bar and ganache helped)

Con: (notice I only have one) My gumbo recipe is a bit on the blonde side, and extra thick when at room temperature.  Not really an issue to me, though, because it still tastes really good.

Convinced? Cool. Get it here.


As for the recipe I use...

Gather -
3 1/2 Cups Namaste Foods Perfect Flour Blend
1 1/2 cups milk
3 eggs (room temperature)
1 T cider vinegar (apple cider vinegar totally works)
2 T oil (vegetable is what I generally have on hand)
2 T honey
1/2 Cup cornstarch
2 t salt
1 T rapid rise yeast
1/4 C warm water

Steps - 
1. Mix yeast in warm water and let sit for 5 minutes.
2. Warm the milk (I've used the microwave - about 30-40 seconds)
3. While that's in the microwave, beat room temp eggs in stand mixer.
4. Add milk, oil, honey, and vinegar to stand mixer.
5. Add yeast mixture.
6. Add dry ingredients to stand mixer.  I usually add some, beat it, add some more, etc.  Once all the dry ingredients are added, scrape bowl and mix again (do this a couple times until no fluid is resting at bottom of bowl).
7. Grease metal loaf pan, pour dough into pan.
8. Cover loosely with sprayed plastic wrap and let rise for about an hour in a warm place.  (30 minutes will work, but the final product is lighter if you let it rise closer to an hour)
9. Preheat oven to 350F.
10. Remove plastic wrap and bake for 30 minutes.
11. Cover with tin foil to protect the top of the loaf, and bake for another 35-40 minutes.  *bake for 35, check if dough is done using a toothpick/knife, continue baking at 5 minute increments as necessary*
12. Let cool on a rack before slicing. <-- really difficult, but worth the wait.


I hope you enjoy it! 
Check back later this week for my Fried "Grilled" Cheese recipe.


Monday, November 17, 2014

Quick Fix...Chocolate Chip Cookies

Break and bake cookies? Pass. 

While break and bake cookies' purpose is convenience, the amount of them that I would consume in one sitting is absurd.  Pay no mind to the fact that my body can literally NOT digest them. 

Within minutes I am literally in an obscene amount of abdominal pain.

But that's not why I'm writing this post.


I have found an even easier quick-fix! One that doesn't break the bank, or your tummy.
Don't believe me? Keep scrolling.

Meet Udi's Gluten Free Soft & Chewy Chocolate Chip Cookies.


Kept in the freezer section, these babies are appropriately named once popped in the microwave.  I am not a fan of them at room temp. They remind me of Chips Ahoy!, which I really have never been a fan of (please don't judge me). But, if you're into that...that's an option, too!

The ones that I don't eat remain in this convenient little container in my freezer.
Fun fact: this container is also remarkably sturdy. 

So when I want a little sweetness but also to contain myself, these babies are my go-to!

Steps: 1. open top of container.
2. on a paper towel, place desired number of cookies.
3. microwave for 20-30 seconds.
4. Enjoy :)


**Also, try Udi's Brownie Bites!! Another personal favorite.


Monday, November 10, 2014

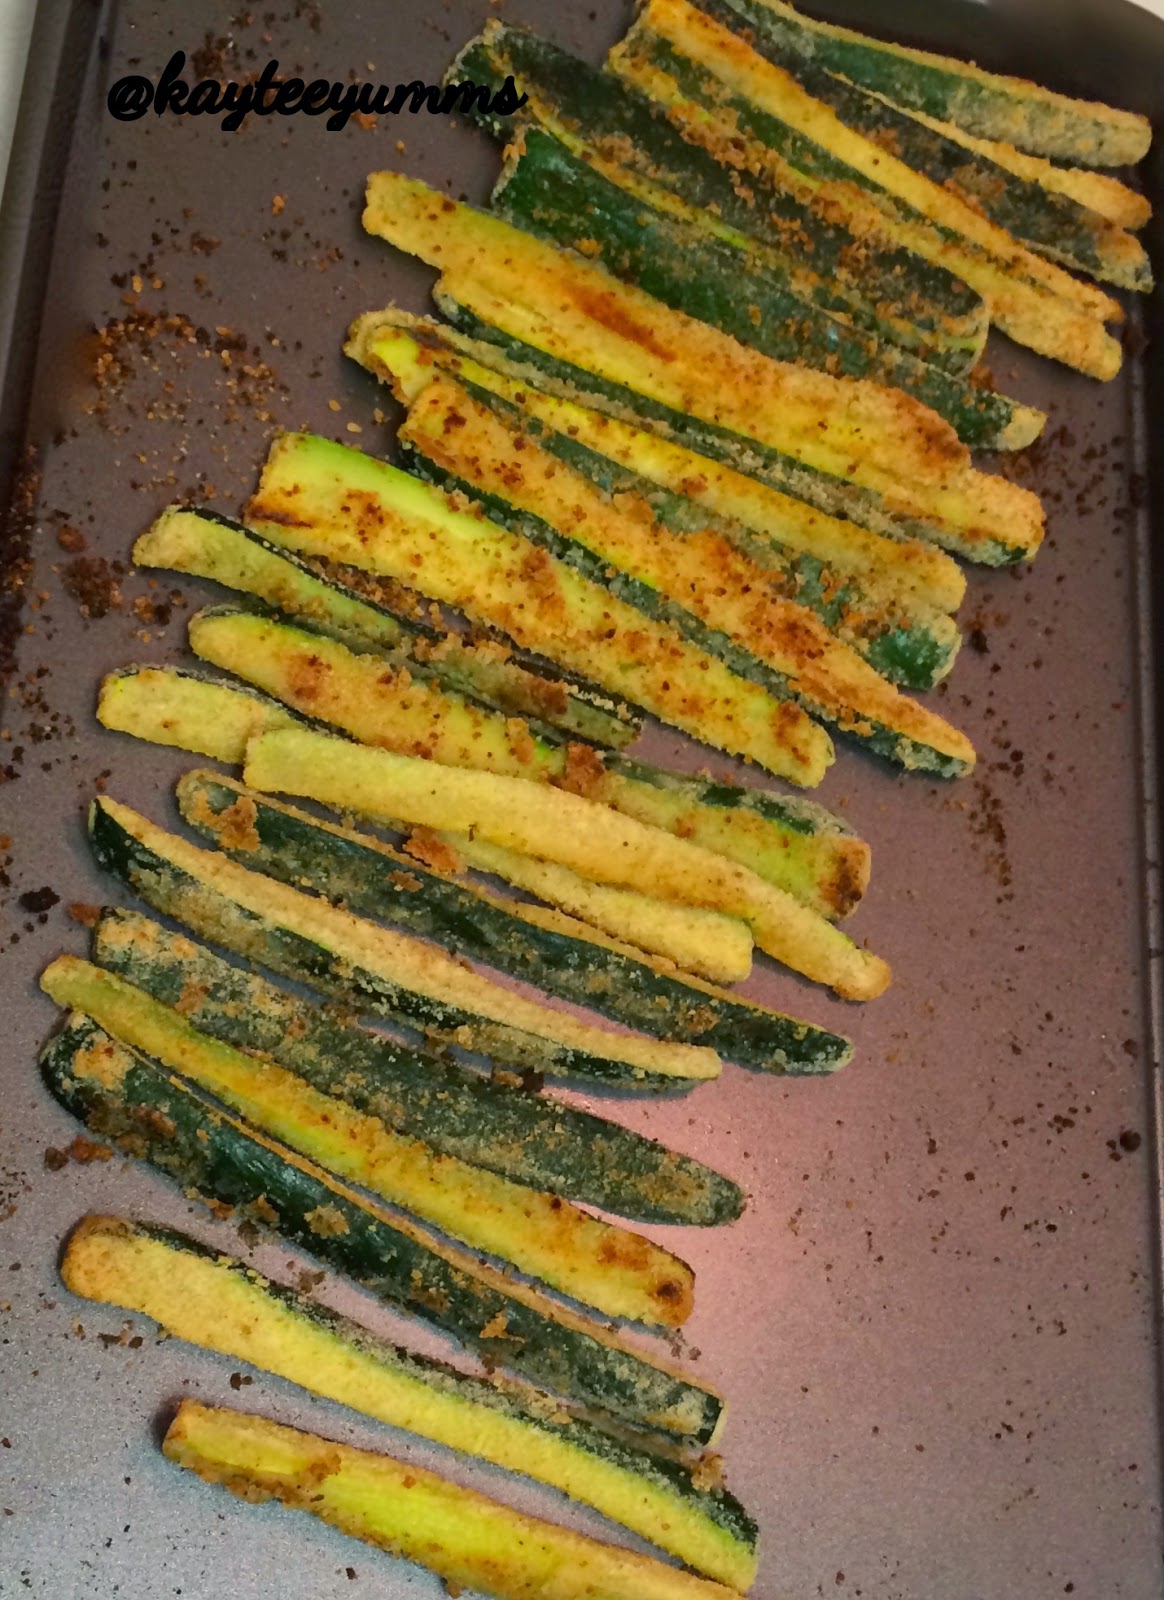
Zucchini "fries"


I drove to Corpus again this weekend, and let me just say...'twas a blast!

Our Sundays normally consist of football and honestly, our Saturdays normally do, too.  But this particular Sunday stands out because I made zucchini "fries".  

Let me rewind a little...since being forced to eat better, I've really tried to make an effort for my boyfriend and I to eat healthier things. I didn't want it to be that we removed gluten foods, but that we  added healthy foods, too. Somewhere in my brain I figured swapping food items would make the transition easier.  Not entirely true, but hey, I'm trying.

So that's where the zucchini "fries" come in.

Paired with copy-cat chick fil a nuggets anything, these "fries" are delicious. 

Not many ingredients + easy to make = perfect Game Day munchies.  AND finding a convenient gluten-free bread crumb has opened up sooo many cooking options - I'm already thinking chicken/eggplant parmesan.

Back to the "fries"...On a day when I'm in Houston, I usually make my own bread crumbs because I keep a loaf of gluten-free sandwich bread in my freezer.  This weekend I was in Corpus (not at my house), we were already grocery shopping, and I was contemplating my test the next day, so time was of the essence...

BOOM. I used Schär's gluten-free bread crumbs.  The fries were baked at 425F for about 25 minutes.  They came out crispy, and yummy, and golden...just like I would have expected "normal" bread crumbs to be.

found at grocery stores, here, or here

Here's what I did: (heat oven to 425 while preparing)

1. In a bowl, combine one egg white and about a cup of milk - I eye-balled it.  This concoction is to dip the zucchini in so it doesn't need to be precisely measured.

2. Wash and dry your zucchinis - I used 3 for two people. *side note: we also had tater tots and nuggets, so keep that in mind when deciding how many*  On a cutting board, slice the ends of your zucchini off, then split in half.  For each half, I cut them into quarters, lengthwise.


3. In a plastic, sealable bag - add about 1/2 c. of Schär Bread Crumbs + about 1/2 c. of Parmesan cheese (nothing special, can be the canister that you use for topping italian dishes)

4. On a baking sheet, spray with oil to keep "fries" from sticking - I used coconut oil.

5. Place a handful of zucchini "fries"in egg/milk mixture, then drop in plastic bag.  Shake vigorously. *If you are dancing while shaking, you're doing it right.*  

6. Place shook? danced? shaken "fries"onto baking sheet, as separated as possible.  Repeat steps 5 and 6 until all "fries" have been placed on baking sheet.


7. Sprinkle salt on 'em, then bake for 20-25 minutes.

8. Once time is up, flip over and bake about another 5 minutes; if you don't want them that healthy, sprinkle some more salt for this side.  *we like ours with the zucchini fully cooked, and the outside just a tiny bit crunchy.  for crunchier "fries", bake for total longer time*

9. Eat 'em up plain, or with the dip of your choice!


Hope you enjoy! We sure did :)


What are some other ways you plan to use Schär gluten-free bread crumbs? I'd love to hear your ideas below!